

Wednesday, February 28, 2018
Friday, February 23, 2018

21st LAYOUT share
I often get asked why I do so many layouts without photos. Being a layout designer, I don't always have photos at the time for the particular layout I am working on, also it makes it easier to kit and teach without a photos (photos distract the student).
So, I was super excited to go to a 21st last weekend where we took the perfect photos for a layout I created a year ago. They matched perfectly !
Thank you Scrap collections for this fantastic range.
(click on image to see full pic)


Scrap Collections WONDERLAND layouts
I loved playing with Scrap Collections WONDERLAND collection and created all these layouts with the range. See range HERE


What fun it was to play with this range.. Hope to see what you create too !


Being a WONDERLAND range, I created a WONDER booklet with hidden panels:


Was fun to see the girls create their Hidden Albums.
Also created these extra layouts:


What fun it was to play with this range.. Hope to see what you create too !
Monday, February 19, 2018
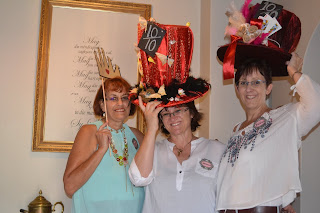
Mad Scrappers Tea Party @ Crazy Cameleon
Taught a class at Crazy Cameleon's 1st Birthday celebration. What a fantastic day. Lots of fun, scrapping and of course tea and cake !


We created a stunning CRAZY TEAPARTY layout I created for the day, using Scrap Collections ranges of paper:


We created a stunning CRAZY TEAPARTY layout I created for the day, using Scrap Collections ranges of paper:

FREEBIE: If you would like the Stacked Teacup cutting file (Silhoutte format), please email me on info@iscrapjoburg.co.za and I will send to you with pleasure.

CLASS FEEDBACK: 14 February
Well we didn't get roses and champagne, but created a stunning Wedding layout with Danny using some old papers she had in her stash Love the end result !


I-SCRAP JOBURG Class - 10 February 18
What a fun morning in class. The ladies had an open crop and created some fantastic layouts.


Love having the young girls join for class, kids are so creative. Check out this amazing layout !


Love having the young girls join for class, kids are so creative. Check out this amazing layout !

Saturday, February 3, 2018
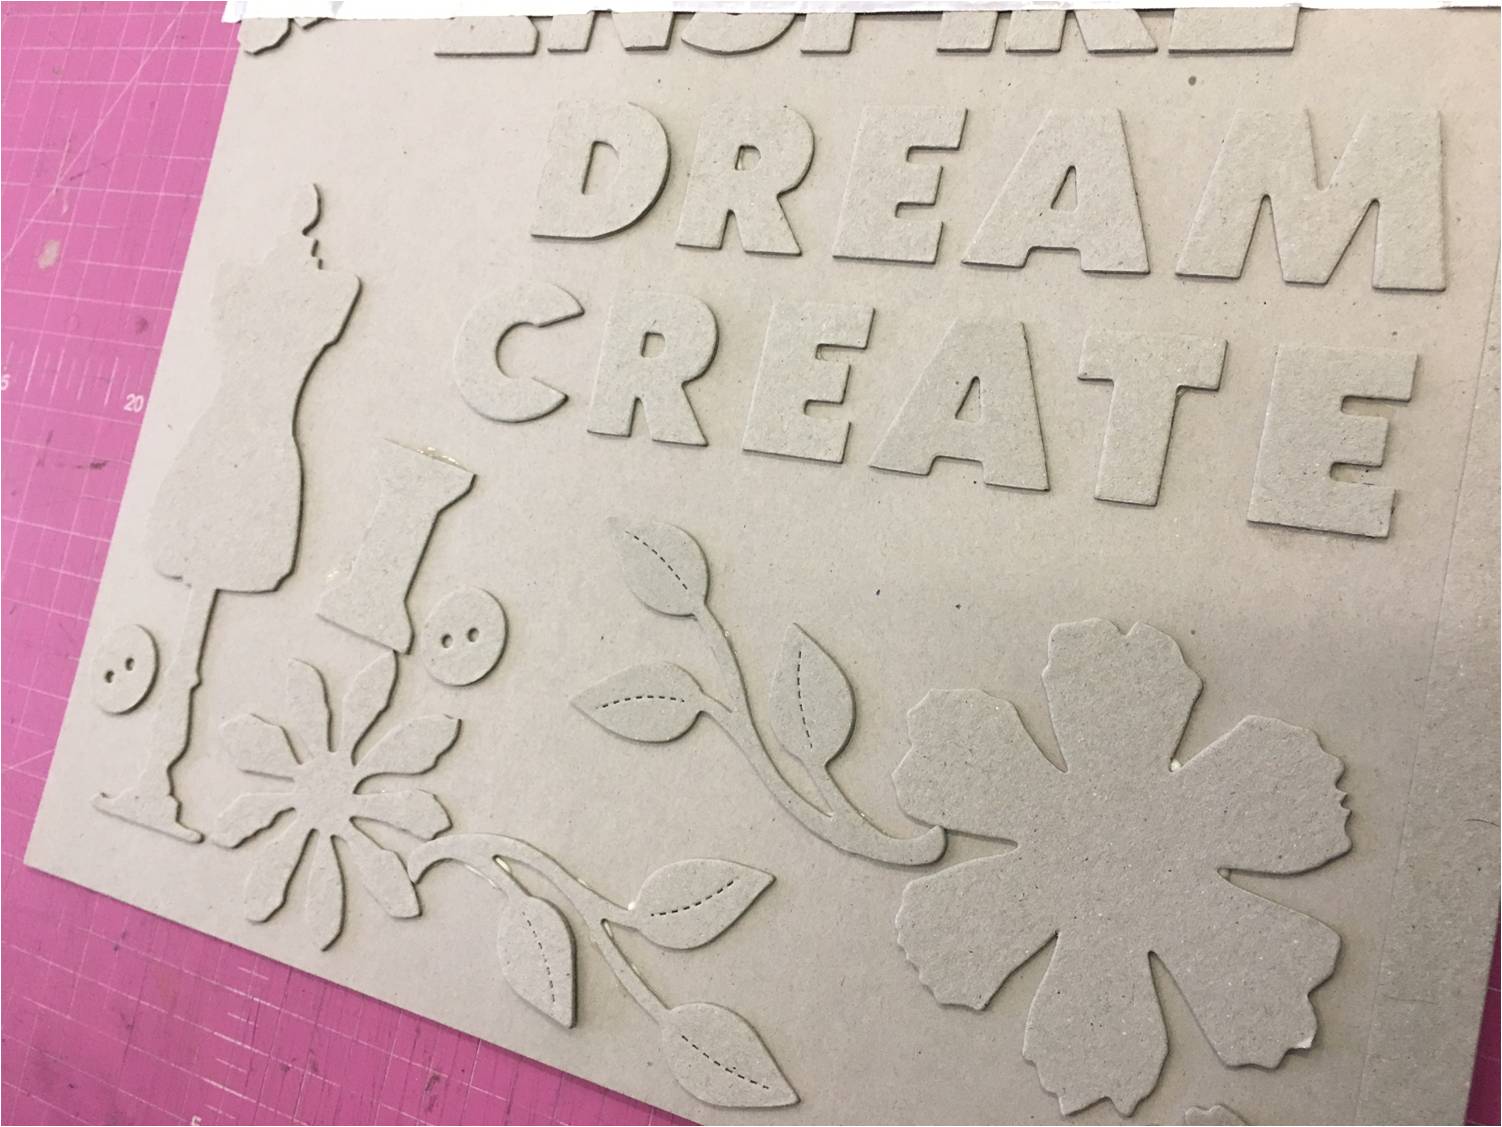
TUTORIAL: FAUX PEWTER

Due to popular request, here is the tutorial for the FAUX PEWTER technique. This can be used as a Tag, a Title Strip, Emboss with machine for a FRAME, or as a background for a full page.


NEEDED:
- Chipboard elements
- Adhesive Foil Tape
- Black Acrylic / Craft Paint
- Sponge Paint brush
- 3-4 different sized Ball Tools for shaping
- Paper Towel
- Wet Wipes
TECHNIQUE
Step 1:
Either use CHIPBOARD elements you have or DIECUT some from thick chipboard. We used Tim Holtz and Sizzix dies to create these elements on the Cuttlebug.
Step 3:
Adhere the chipboard elements to your background paper (scrap chipboard) as you wish. If you want to add photos and elements to the top, plan accordingly so you have space to add it all.
Step 4:
Using your FOIL TAPE, tear strips to length and adhere down length of page. OVERLAP each strip slightly (DO NOT LEAVE ANY GAPS).


Step 5:
Fold over excess tape to the back of your page.

Step 6:
Using your finger, outline the elements and flatten tape.
Step 7:
I start with the lid of my TOMBOW glue (is perfect sized ball tool) and shape around all the elements.

Step 8:
Using a medium ball tool, now shape again going over all your shapes

Step 9:
Using a smaller ball took, repeat again. If needed repeat with an even smaller tool. You need to have a "defined" edge to your chipboard elements.


Step 10:
Using BLACK PAINT, adhere using a Foam brush to your layout. Be generous but not too much ! Make sure all "inner" pieces are well covered and then apply in rows in ONE DIRECTION!


Step 11:
Let dry for a few minutes until tacky. NOT too dry or it won't rub off but not too wet or it wont stick.
Step 12:
Using PAPER TOWEL, gently remove all excess paint from foil. The black paint should stick inside your chipboard. Remove as much as you wish. you can add more if you want, or remove more with wet wipes.


Step 13:
Using a WET WIPE, remove the black paint from top layer of FOIL chipboard. You want the bottom blackish and the top shiny.

Step 14:
Sit back and admire your handiwork. You can now add elements ontop of the canvas you created.


GO WASH HANDS !! Lol.. Enjoy !
Subscribe to:
Posts (Atom)